Discover how this simple technique can drive authority and engagement in your digital marketing on varying top platforms
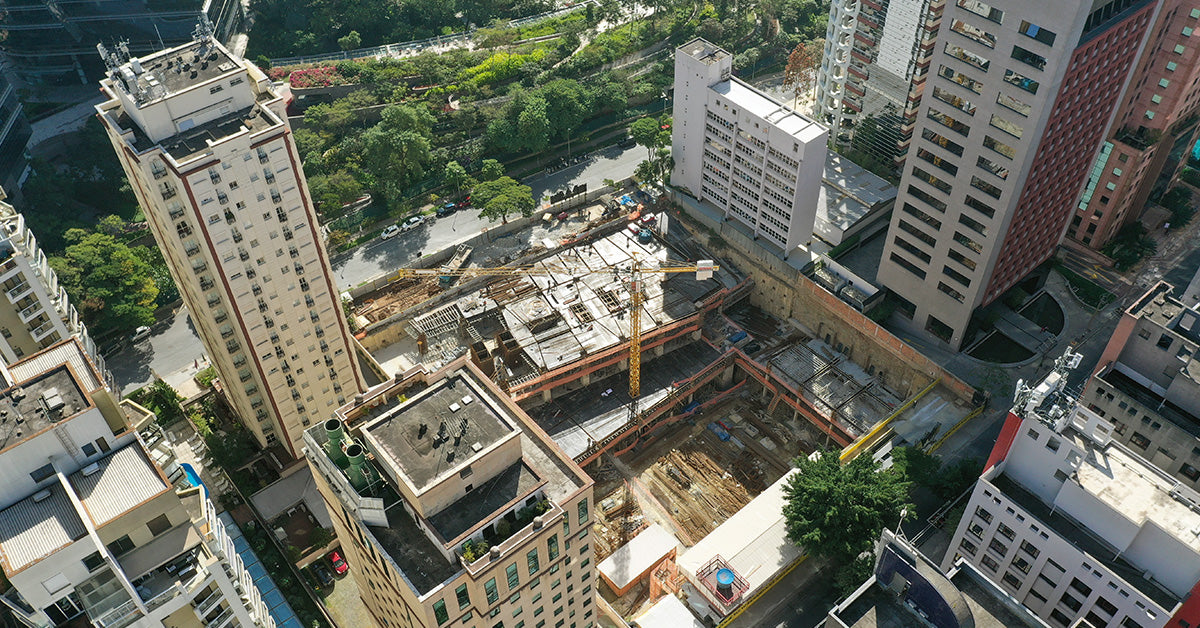
Imagine if you could make a short film showing your audience a construction project as it unfolded. Well, with time lapse videos you can. These condense month-long build-outs into seconds, allowing people to see what happened on your building sites in a short, easy-to-digest film.
Construction companies use time lapse photography primarily for branding because it shows prospective clients how they operate and what they could achieve using their services. However, it is also helpful for marketing on social media and keeping a record of how a project unfolded.
This guide explains how to do a construction time lapse from planning to editing. It explores each step in detail so you can do it yourself.
Planning Your Construction Time Lapse

The first step is to plan the purpose and goals of your time lapse project. You should know in advance what you want it to achieve. Ideas include:
- Improving your sales and marketing efforts
- Boosting on-site project management
- Remembering your work and what your company achieved
- Improve client communication (showing periodic progress)
- Educating audiences about how construction projects unfold
- Creating interesting content for social media community engagement
- Tracking health and safety protocols
- Ensuring site security
The optimal shooting schedule should also be considered during this phase. Think about the intervals between snapping pictures. Ideally, you want the shot cadence to be continuous. This way, the resulting video will be smooth, showing all the details from the build.
You can operate fixed intervals between camera shots but may need to edit them to get the desired results. Skipping frames where nothing changes can help construction work appear more gradual and linear (which isn’t what happens in most real-life scenarios). Here, you can use your camera’s scheduling function (if you have one), telling it to take shots during working hours.
Finally, buy the equipment you require. Most time lapse steps need cameras, tripods, intervalometers, memory cards, and software to edit redundant frames afterwards.
Setting Up Your Time Lapse Camera
The next step is to set up the time lapse camera. Choose locations with unobstructed views of the site. (You want to be able to capture building progress in all its glory).
Having several locations can be beneficial for editing. You can switch between camera angles to generate visual interest and show specific stages of the build-out as they occur.
Put cameras in safe, secure locations protected from the elements. Adjacent buildings are usually the best option, but you can also create make-shift shelters for them where appropriate.
Placing cameras atop sturdy tripods is also useful in most settings. These let you adjust the camera angle and hold it in place to prevent movement over the filming period.
Consider also the camera’s setting. Test a few shows first to ensure the correct aperture and focus settings.
Don’t choose prolonged exposure as this may cause unwanted blurriness and prevent images from registering how you want.
Lastly, configure the interval timer for the desired shooting frequency. These can vary significantly, but you should go shorter if your project will only last a few days. (This way, the resulting video will be smoother and longer).
Here’s a table showing how to set the capture frequency for different build lengths in more detail:
Capture intervals for varying project lengths
|
Project Length |
Capture Interval |
Daily Video Length |
|
A day or less |
10 seconds |
96 seconds |
|
A week or less |
30seconds |
32 seconds |
|
A month or less |
60 seconds |
16 seconds |
|
A year or less |
5 minutes |
3.2 seconds |
Capturing the Time Lapse Footage
Once the cameras are in position, you are ready to start the time lapse recording. Double-check they point in the proper direction and capture the areas of the site you want to target.
Then, return to your cameras and check their photos during construction. Ensure they are taking snapshots using the intervals you set. (You should do this regularly because you can’t reverse construction work for a retake).
Sometimes, you might need to adjust camera angles during construction (i.e. if you are building a tall building). You should do this gradually, using your tripod to set incremental changes.
Editing Your Time Lapse Video
Once construction is complete, the next step is to import the image sequence into editing software. These programs let you play around with various parameters, including the playback speed, helping you create a more compelling time lapse video.
As you replay the time lapse, use the editing software to adjust the playback speed. You may get better results by speeding it up or slowing it down.
You can also experiment with adjusting these speeds globally and locally. Sometimes it makes sense to speed up the whole video, while other times it is better to apply it to specific sections.
Meanwhile, see whether color-correcting the image makes it more engaging or consistent. Overcast or rainy days will have duller lighting than sunny ones. But modern editing software lets you change perceived lighting levels to create a more consistent (less flickery) experience.
Finally, add suitable music (branded if possible) and text overlays if you need to explain to audiences what’s happening (such as piling, placing grinders, or installing cladding). These elements can make the video more engaging and are sometimes an opportunity to improve brand perception.
Once editing is complete, export the video in a suitable format and resolution. Choose the highest resolution possible and allow users viewing content through third-party software (like YouTube) to condense it where necessary.
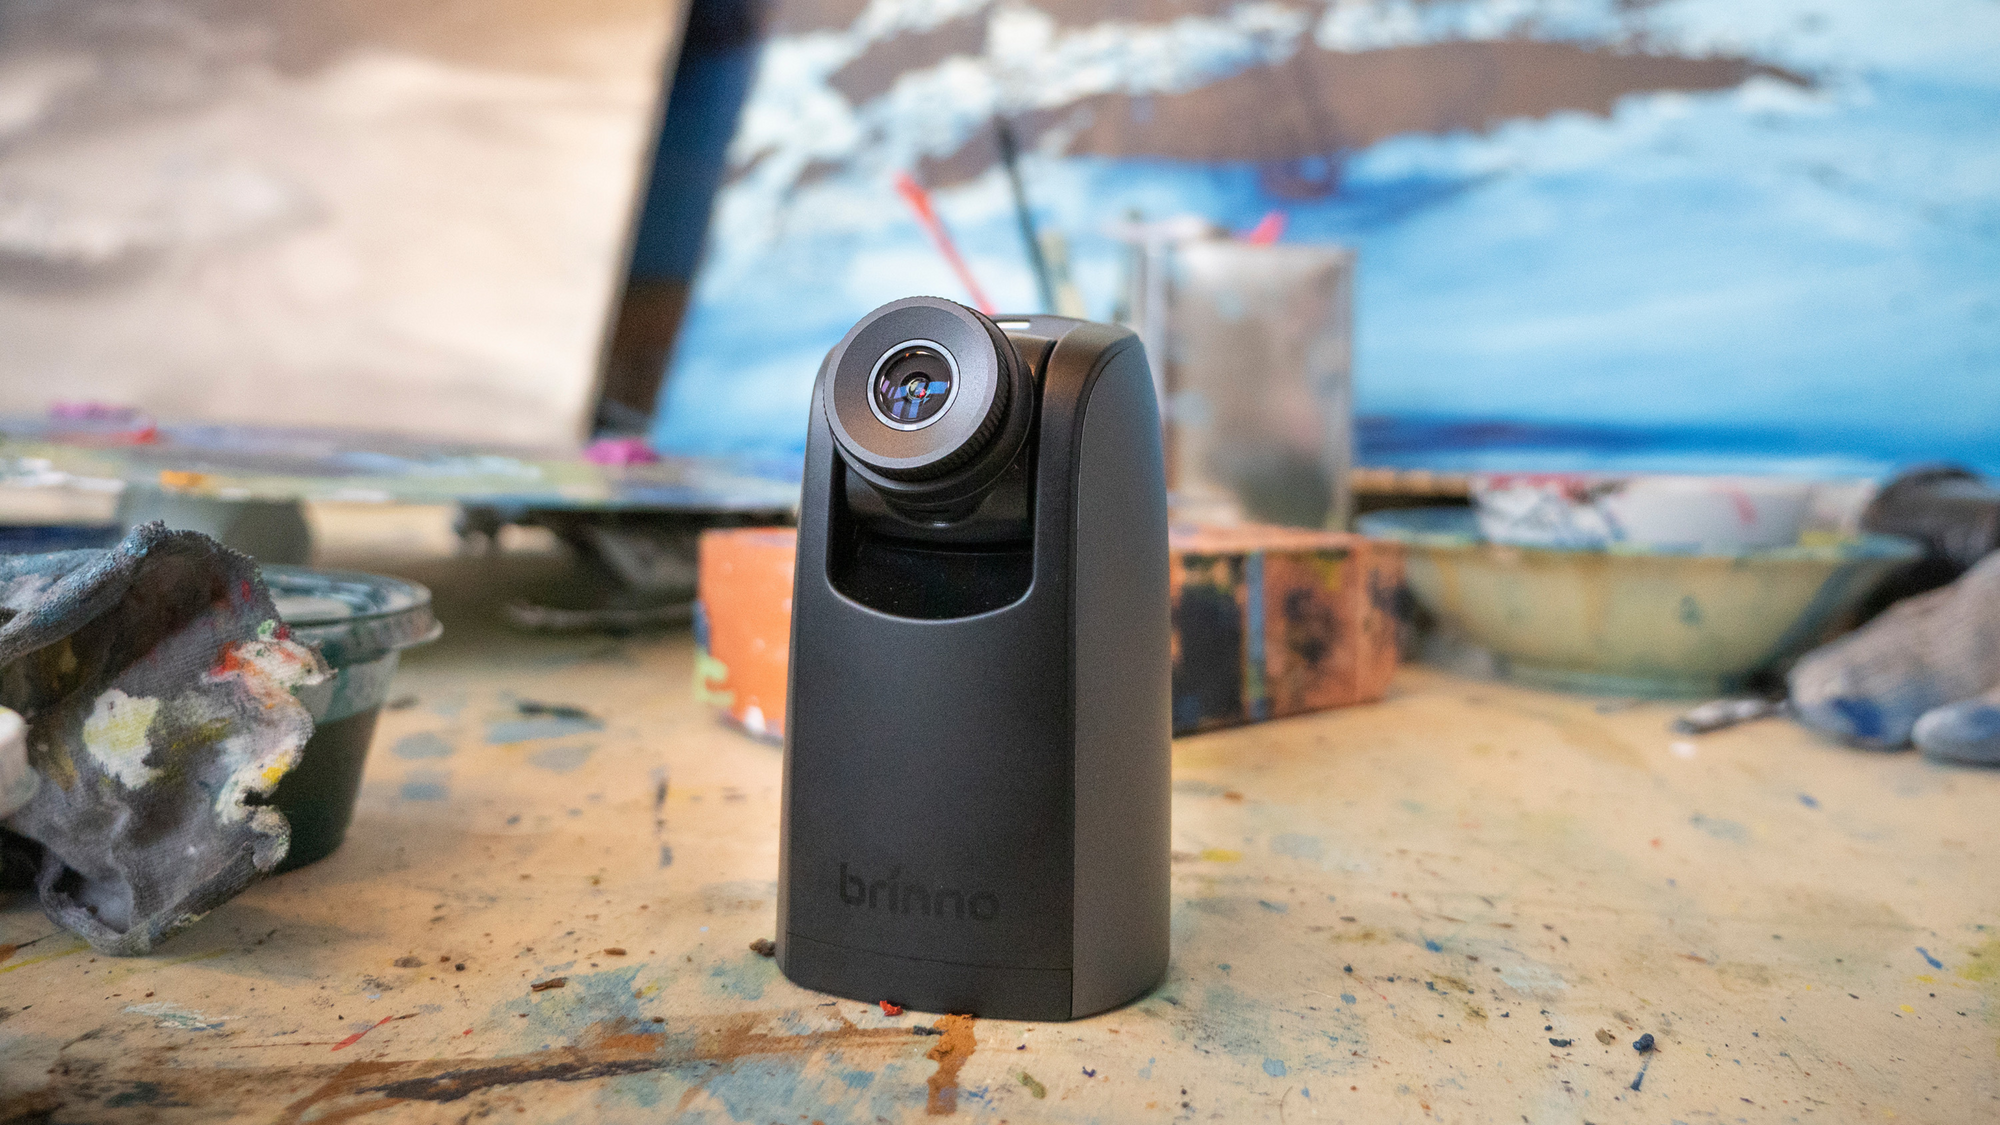
You can export time lapse videos in MP4 and AVI with Brinno technology. This ability makes it straightforward to transfer data between devices.
Sharing and Promoting Your Time Lapse
Once your time lapse is ready and finishes in the editing stage, distribute it to your audience. Getting it out to prospects, leads and clients makes all the hard work worthwhile.
Aim to publish the video on:
- Your social media accounts (LinkedIn, TikTok, Facebook, and Instagram)
- Your YouTube page
- Your website
- Business and industry-related websites and blogs
- News publications
Use the timelapse to showcase your work to potential clients and stakeholders. Doing it properly can help you generate trust and authority in your field. Prospective customers who can see your expertise in action, encouraging them to contact you for business.
You can also include time lapse construction videos in your marketing and promotional materials. Watching a building constructed in a few seconds is highly engaging for many audiences, encouraging them to take the next step with you.
Here’s an example of what a construction time lapse video looks like with a Brinno camera setup:
Tips for Success
Getting time lapse videos right the first time around is notoriously challenging. A lot of construction firms make mistakes that they can’t correct.
The good news is that you can avoid most of them by following these tips:
- Plan and communicate with the construction team. Link your time lapse ideas with what crews are doing on the ground. Get workers to tell you when they enter a fast project phase so you can reduce the time intervals between shots. Also, get them to let you know if they change the work location so you can adjust the camera’s position and capture the site from more angles.
- Use high-quality equipment for the best results. Don’t rely on phone cameras. Instead, use high-quality equipment and proper stands. You need cameras that capture images in varying light conditions and tripods that won’t move or shift during construction phases. The highest-quality equipment is essential for night-time work.
- Experiment with different angles and perspectives. Usually, it is best to set up multiple cameras around the site to capture construction from varying angles. This approach makes the content more interesting and visually appealing to viewers. While it costs more, it can make your advertising more powerful and drive engagement.
- Be prepared to adapt to changes in the project timeline or conditions. Don’t assume that the timetable you have at the start of construction is accurate. You may need to move cameras ahead of schedule or leave them in position longer than anticipated.
- Back up your footage regularly to avoid data loss. Don’t let all your hard work go to waste. Every few days remove the memory card and upload images to the cloud to make copies. Missing sections in your time lapse sequences will look awkward and could ruin the effect you want to generate.
Conclusion
When setting up a camera for a construction time lapse, always plan. Think about what you want the finished video to look like. Use proper equipment and try to capture the construction site from varying angles to cover all the most interesting aspects of the project.
If you aren’t already using time lapse videos in your marketing, start using them now. Compared to most construction outreach, they are exceptionally engaging and can encourage prospects to view the rest of your content. Videos are entertaining and demonstrate your competence and authority in the industry.


