Last time we shared an interesting story of how to expand your living space with a local concrete company, Gold’s Concrete. Though the time lapse video captured every detail of the basement's construction process, the preparation beforehand for the video is equally as important as the video content itself. (Check out the last interview feature story.)
The professional expertise required to deal with basement construction under an existing property allows you to focus on this project’s complexity. In fact, navigating how to remove all the earth under the home without harming the foundation's structural integrity requires professional experience and a very sophisticated skillset. The harsh and messy working environment are not ideal conditions for a traditional digital camera to record long construction projects, but the Brinno cameras excel.

With a solid camera housing and using the optimized features of the camera, Brinno time lapse cameras were perfectly designed to tackle various angles of this complicated project despite the extreme conditions. The question remains, how do you set up your camera to not only record through an entire construction project but also capture every detail of the project's evolution?
Postion Your Time lapse camera to capture construction
Don’t worry, we’ve got you covered, as this is probably one of the most frequently asked questions whenever people are dealing with their unique projects. Follow the three main rules before recording and your time lapse video will look amazing.
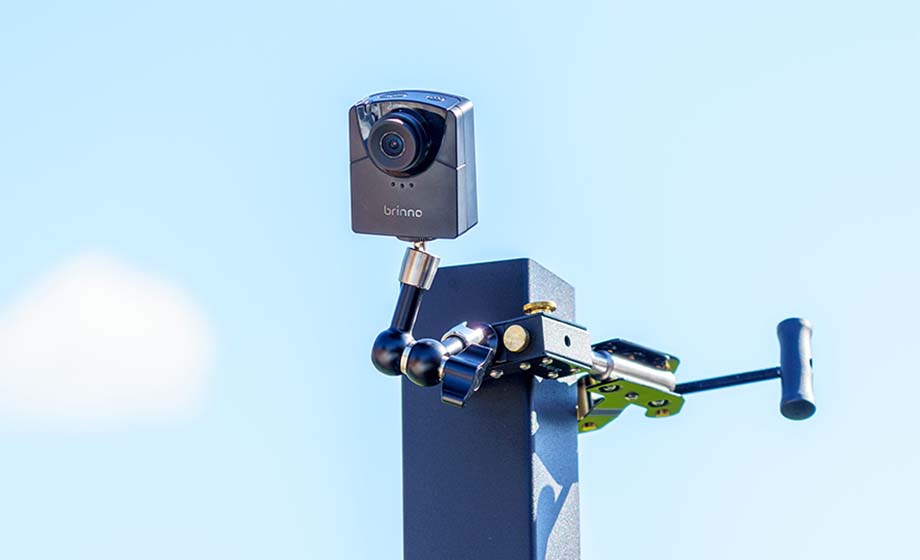
1. Find The Perfect Location To Install Your Camera
Since a time lapse video usually takes more than a few weeks to finish a project, finding the perfect spot for the camera is the top priority. The camera must be installed in a fixed place and won’t be moved easily throughout the recording process. Usually the higher the camera is mounted, the better it can capture the work site from a bird-eye view.
For a limited space such as a basement excavation project, the top priority is finding one spot with a clear viewing angle that will fit everything into the frame. Keep in mind that this angle will not be the only content to be put into your video but it’s a must-have angle footage to set the tone of your video with a grand opening to tell people your main focus of this video. The place where you put the camera should be free from anyone touching it so it doesn’t affect the view of the project.
“Exactly how to install the perfect position for your camera. ”
2. Deploy Multiple Time Lapse Cameras
A time lapse video typically includes footage from more than one angle. Reason being that one time lapse camera can indeed finish the job easily, but it’s not as interesting to use only one angle of footage in the video. By mixing in long shots, medium shots and close-up shots, the time lapse video becomes much more enjoyable to watch. Along with the progress of the project, switch the location of the camera to get more material recorded that could also greatly affect the attractiveness of your time lapse video.
“The video contains time lapse clips from different angles, creating an engaging video with diverse materials.”
3. Make Sure The Camera Battery Life Is Enough
Having enough battery life for the duration of the project is a critical issue that is typically underestimated when first starting out. Based on the expected length of your project, you can choose which Brinno time lapse camera will have enough battery life to cover it. We have time lapse cameras that are perfect for projects that last under 3 months or projects that last much longer. The TLC2020’s battery life can last between 60-90 days and is portable to carry or install under most circumstances. Comparatively, the BCC2000 is bundled with TLC2000 and water resistant housing, including battery packs, providing between 320-470 days of battery life. If the camera is mounted high off the ground, we recommend the BCC2000 Plus package, which includes a 10 meter extension kit that allows users to use a cable that plugs into the camera to check the camera's status or download files through a Windows tablet without interrupting the project.